
How to engrave glass : Quick Guide to HEXA Rotary Extension
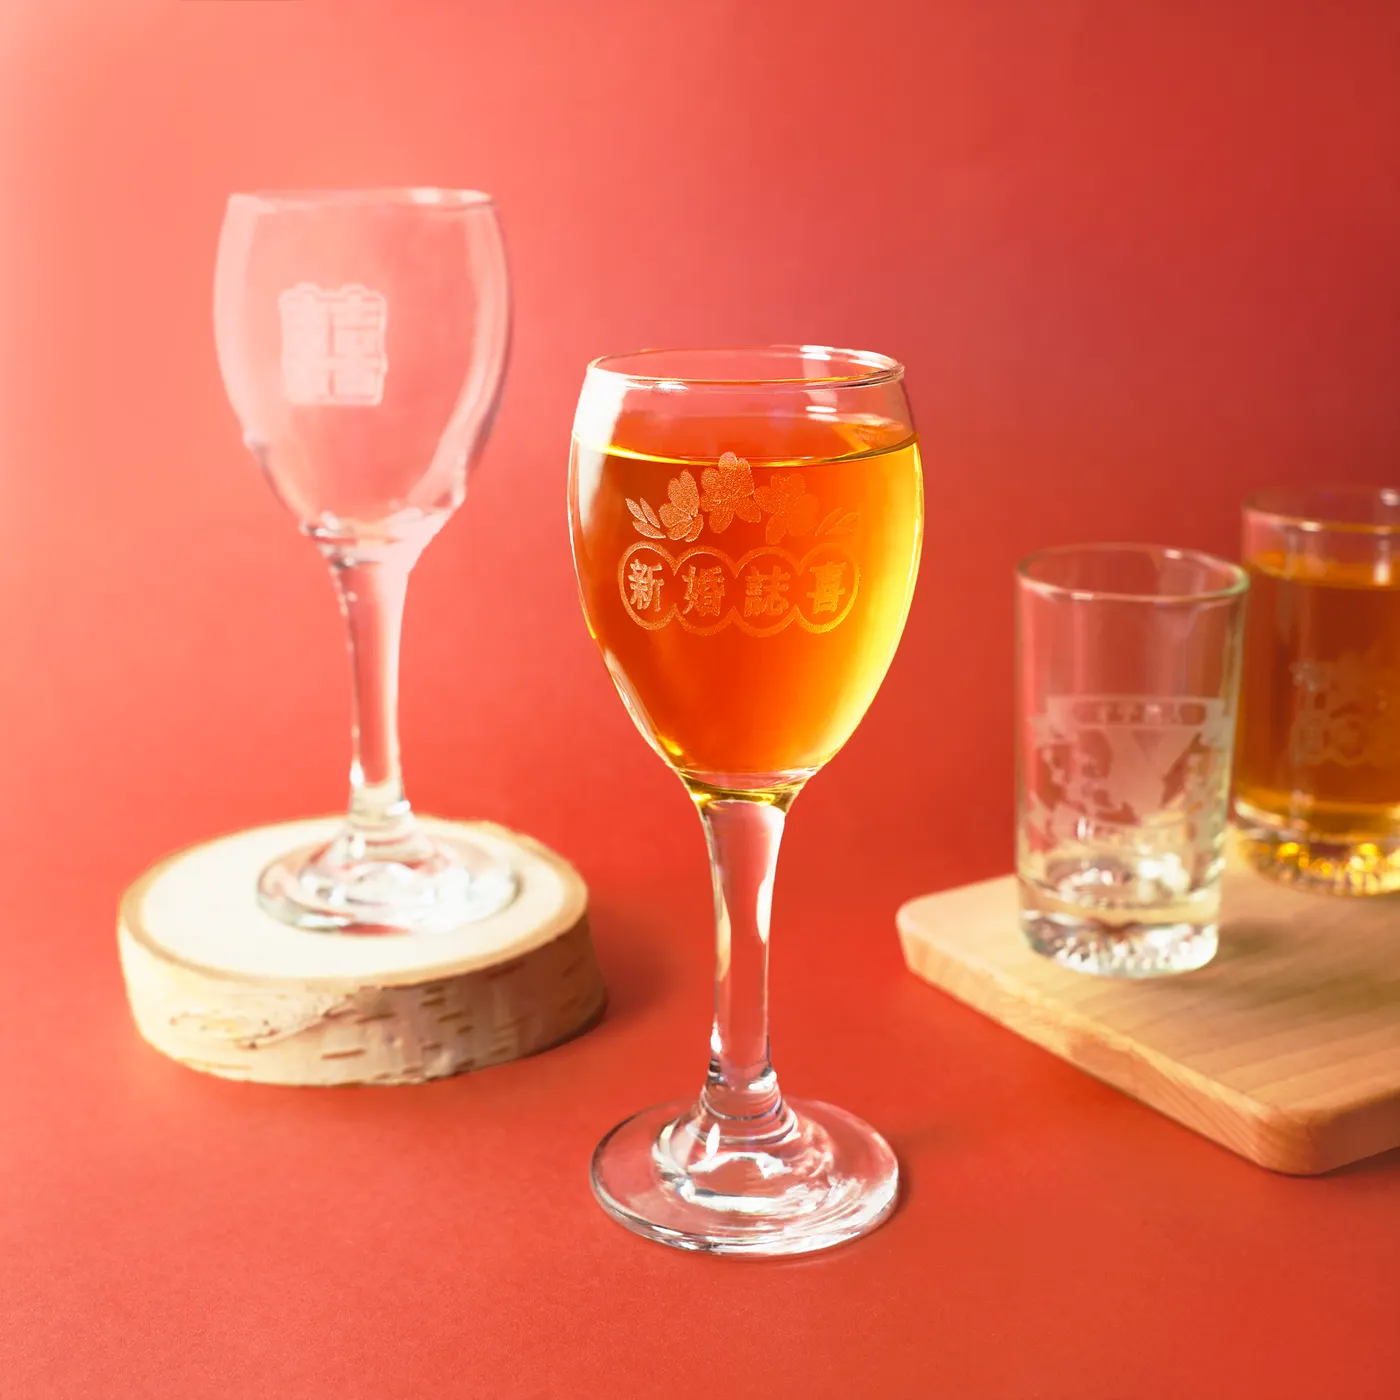
When you hear the wonderful news that your family, friends, or close companions are tying the knot, it’s a beautiful gesture to prepare a small, creative gift that not only signifies marital bliss but also brings good fortune to the newlyweds. While the market offers a plethora of options for wedding favors, nothing matches the personal touch and creativity of a handmade gift. Wondering how to DIY a gift that’s both practical and filled with heartfelt wishes? We’ve got some fantastic ideas for you!
We’ve created unique design files featuring wedding blessings, perfect for cylindrical and conical items, guiding FLUX users in crafting exceptional gifts with the rotary extension. Ready to craft your own wedding favors with the 60W HEXA? We’ll guide you from setup to execution, helping you create memorable, personalized presents. Let’s start this creative journey.


Glass Engraving
Step 1 Rotary Installation
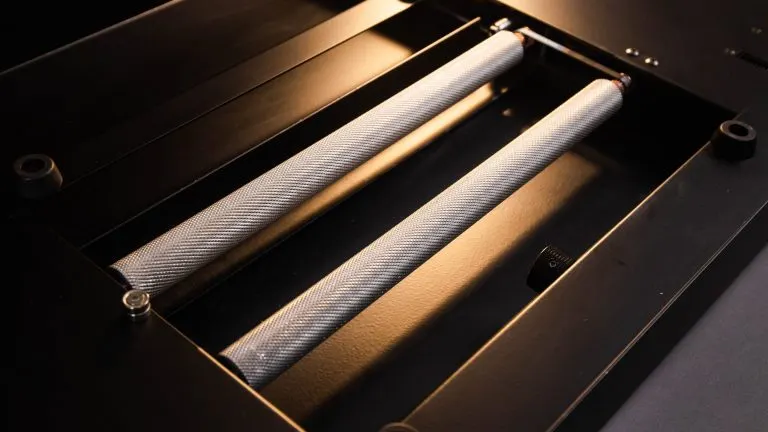
Setting up the HEXA rotary extension is an easy process. Just follow these steps for a quick installation:
- Start by powering off the machine.
- Remove the honeycomb table inside the machine.
- Place the seats on the bracket.
- Set the rotary extension on the seat.
- Plug the cable into the socket at the back of the machine
For more detailed instructions, you can check out the demonstrations at the FLUX Help Center.
Step 2 Beam Studio Setting
Step 3 Camera Preview & Parameter Setting
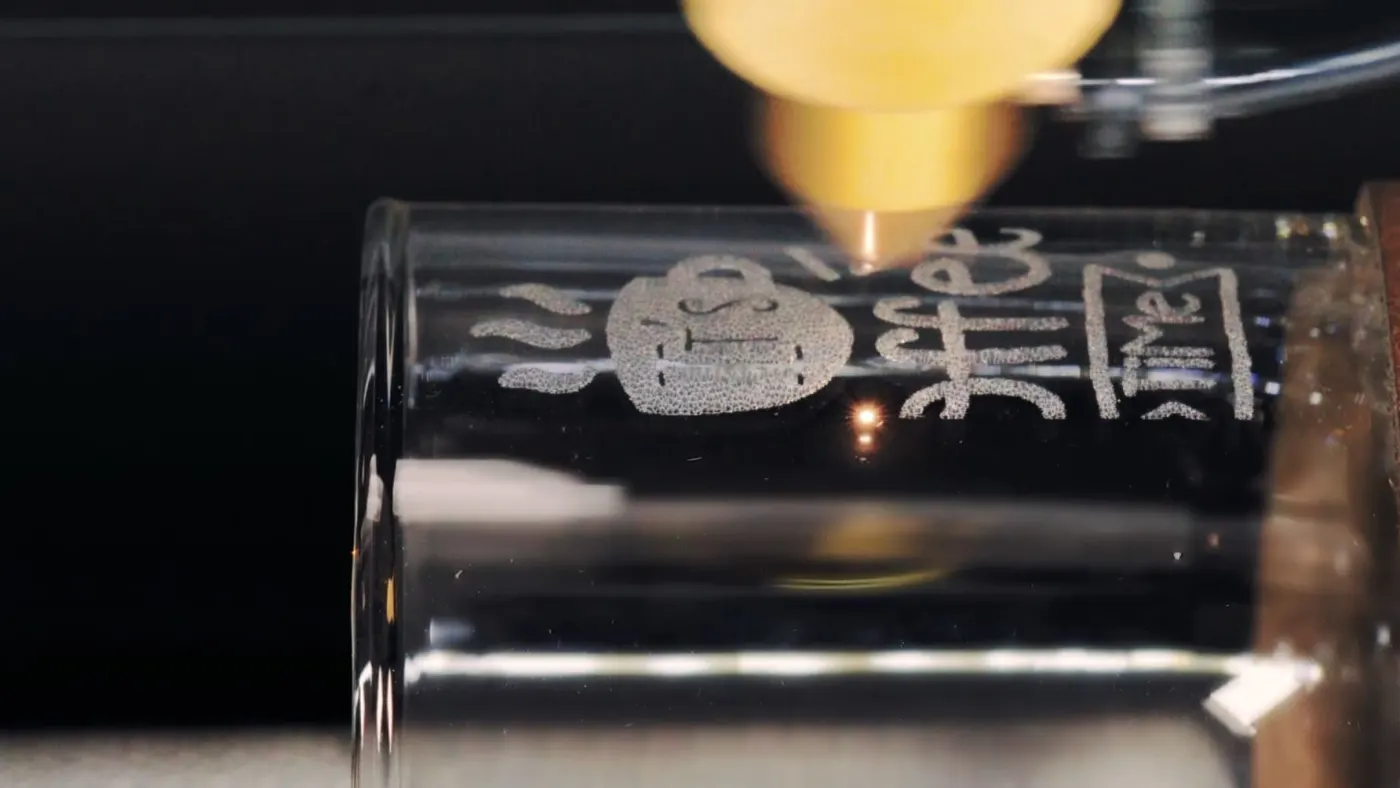
Step 4 Start Engraving
Impressed by the engraving possibilities with the rotary extension? HEXA doesn’t stop at glass – it’s capable of engraving on more than 100 different materials, offering a vast canvas for your exploration. And it’s not just 60W HEXA; FLUX’s entire line of desktop CO2 laser cutters, including beamo and Beambox (Pro), also feature their own rotary extension, significantly expanding your creative potential in laser engraving.