
FLUX Journal

Creating Marketable Laser Products with the FLUX Ador 2W Infrared Laser

To illustrate the functioning of the infrared laser add-on, FLUX take stainless steel as a practical example to guide you through the process to the infrared laser add-on operates.

Published Updated
Ador projects engraved with the 2W infrared laser module

Metal engraving often requires a specialized machine, while materials such as wood, acrylic, and fabric can be engraved with several kinds of lasers. Creators who work with both metal and other materials have therefore typically needed two separate machines.

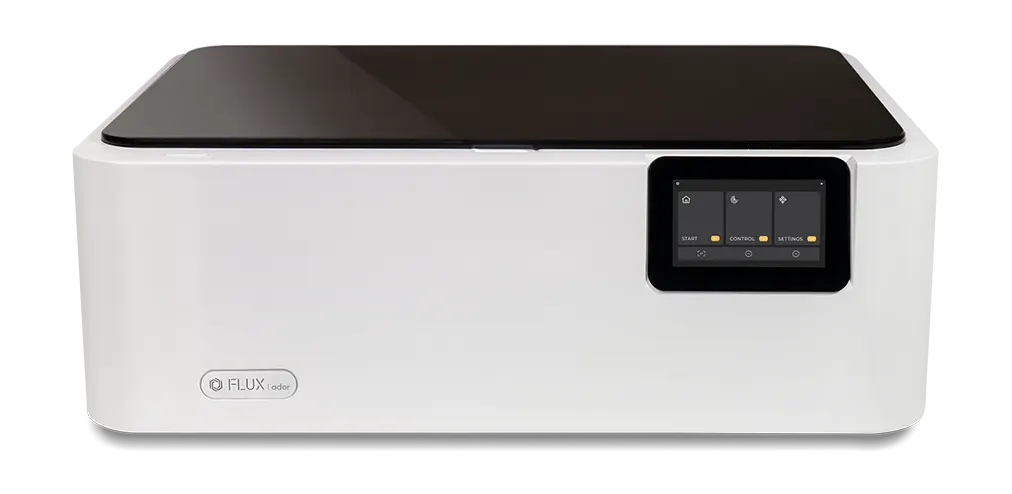
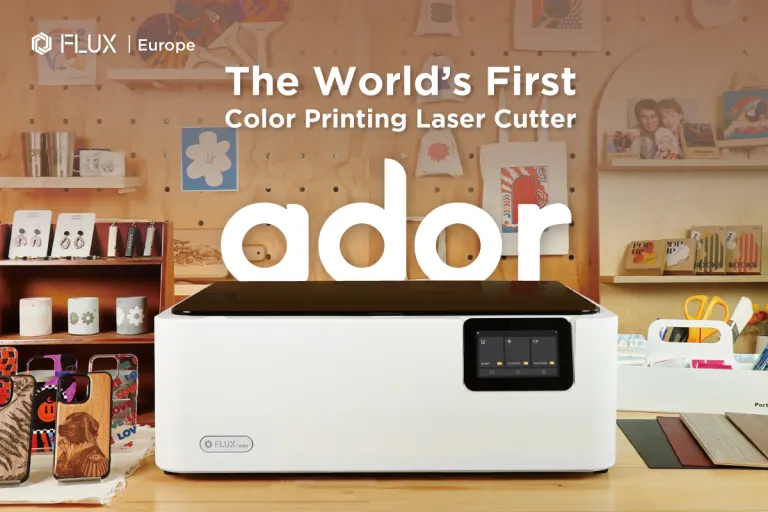
Ador addresses this with a modular three-in-one design: a diode laser, a 2W infrared laser, and a printing module. Creators can switch modules according to the material and project requirements, broadening what they can make with one machine.

Learn more about Ador

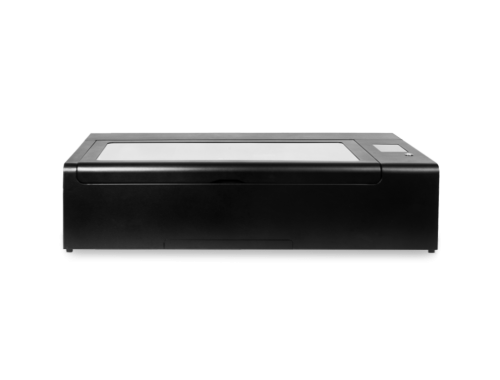
FLUX Ador laser cutter

3-in-1 Laser Cutter

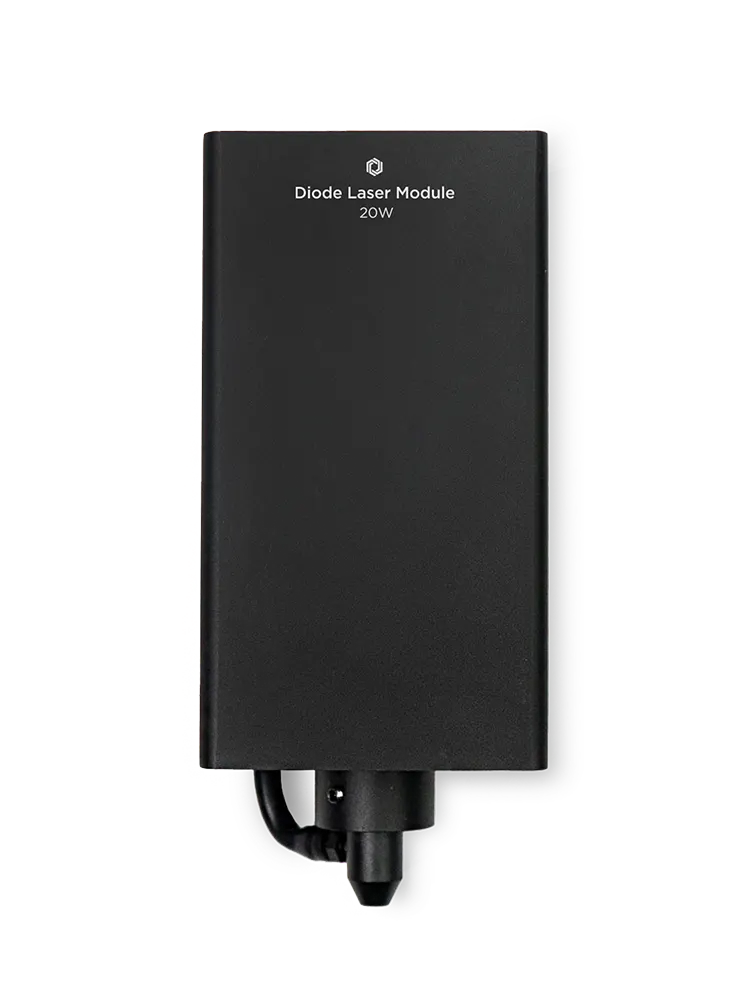
Ador 10W and 20W diode laser module

10W/20W Diode Laser

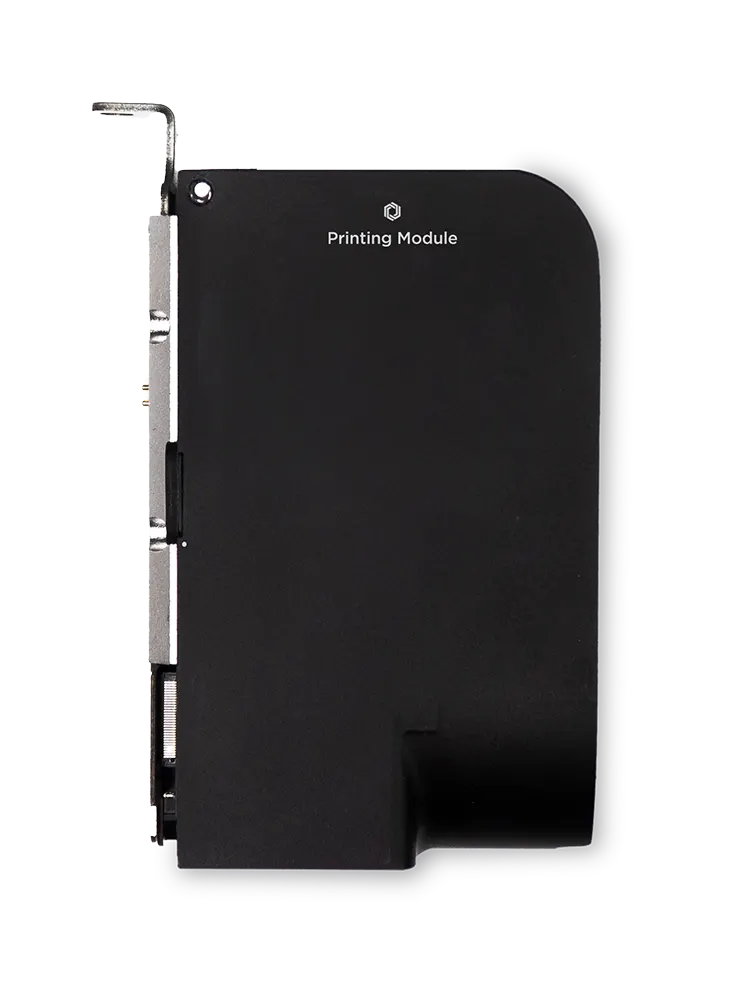
Ador printing module

Printing Add-on

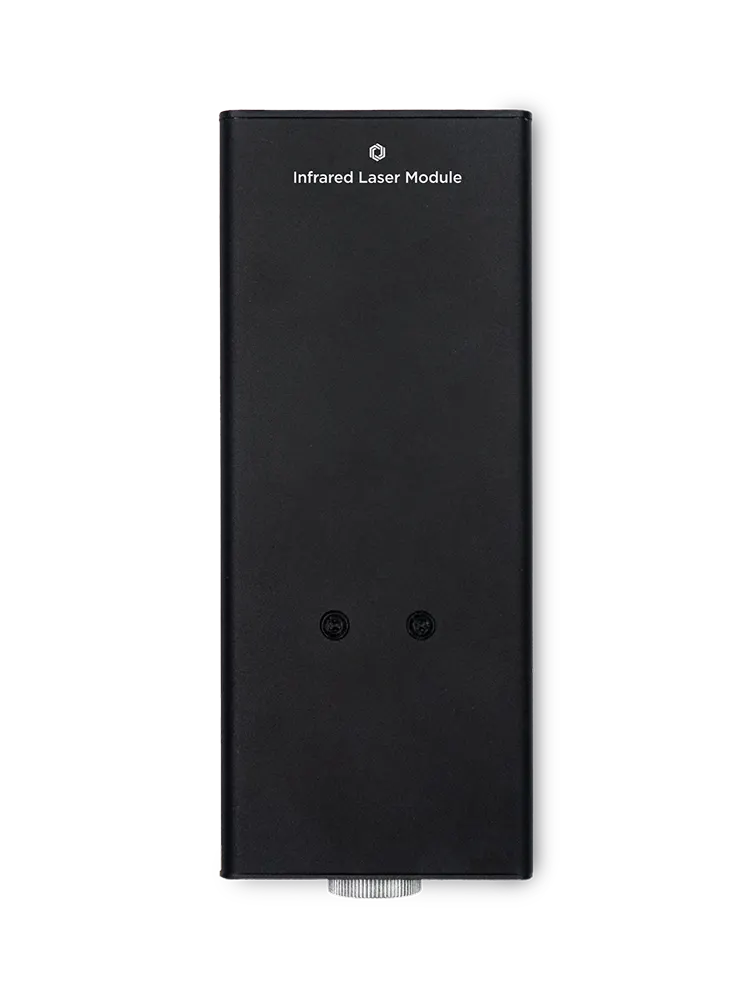
Ador 2W infrared laser module

2W Infrared Laser Add-on

Insight into Ador's 2W Infrared Laser Add-on

Ador's 2W infrared laser operates at a 1064 nanometer wavelength, making it ideal for engraving metal surfaces. The beam's small diameter enables intricate designs and detailed engravings on a variety of metals.

Stainless steel engraving made with the Ador infrared laser

Metal Engraving

To show how the infrared laser add-on works, we'll use stainless steel as a practical example. Follow these steps to prepare the module, position the material, preview the design, and start engraving.

Step 1: Infrared Module Calibration

Perform camera calibration when you use an Ador module for the first time, after moving the machine, or whenever the camera preview and engraving position no longer match. Follow the step-by-step instructions in the FLUX Help Center.

Step 2: Place Material & Autofocus

Ador's workspace measures 430 × 300 mm with a depth of 30 mm. Make sure the material fits within these dimensions. Secure lightweight material with paper tape so the air-assist airflow cannot displace it, then press and hold the AF button to focus on the material.

Step 3: Camera Preview

Ador's 8 MP camera lets you preview the material with one click. After capturing the preview, position your image on the material. The infrared module will engrave the area where the image is placed.

Step 4: Set Parameters & Start Engraving

Position the design file on the material, then adjust the gradient and curve settings in Beam Studio's sidebar. Select Start to send the file to the machine. Reflective metal can make camera alignment difficult; when that happens, select the design's layer and choose a brighter layer color so the image is easier to position accurately.

Create in Four Simple Steps

Complete a personalized project in four steps, from calibration and material setup through preview and engraving.

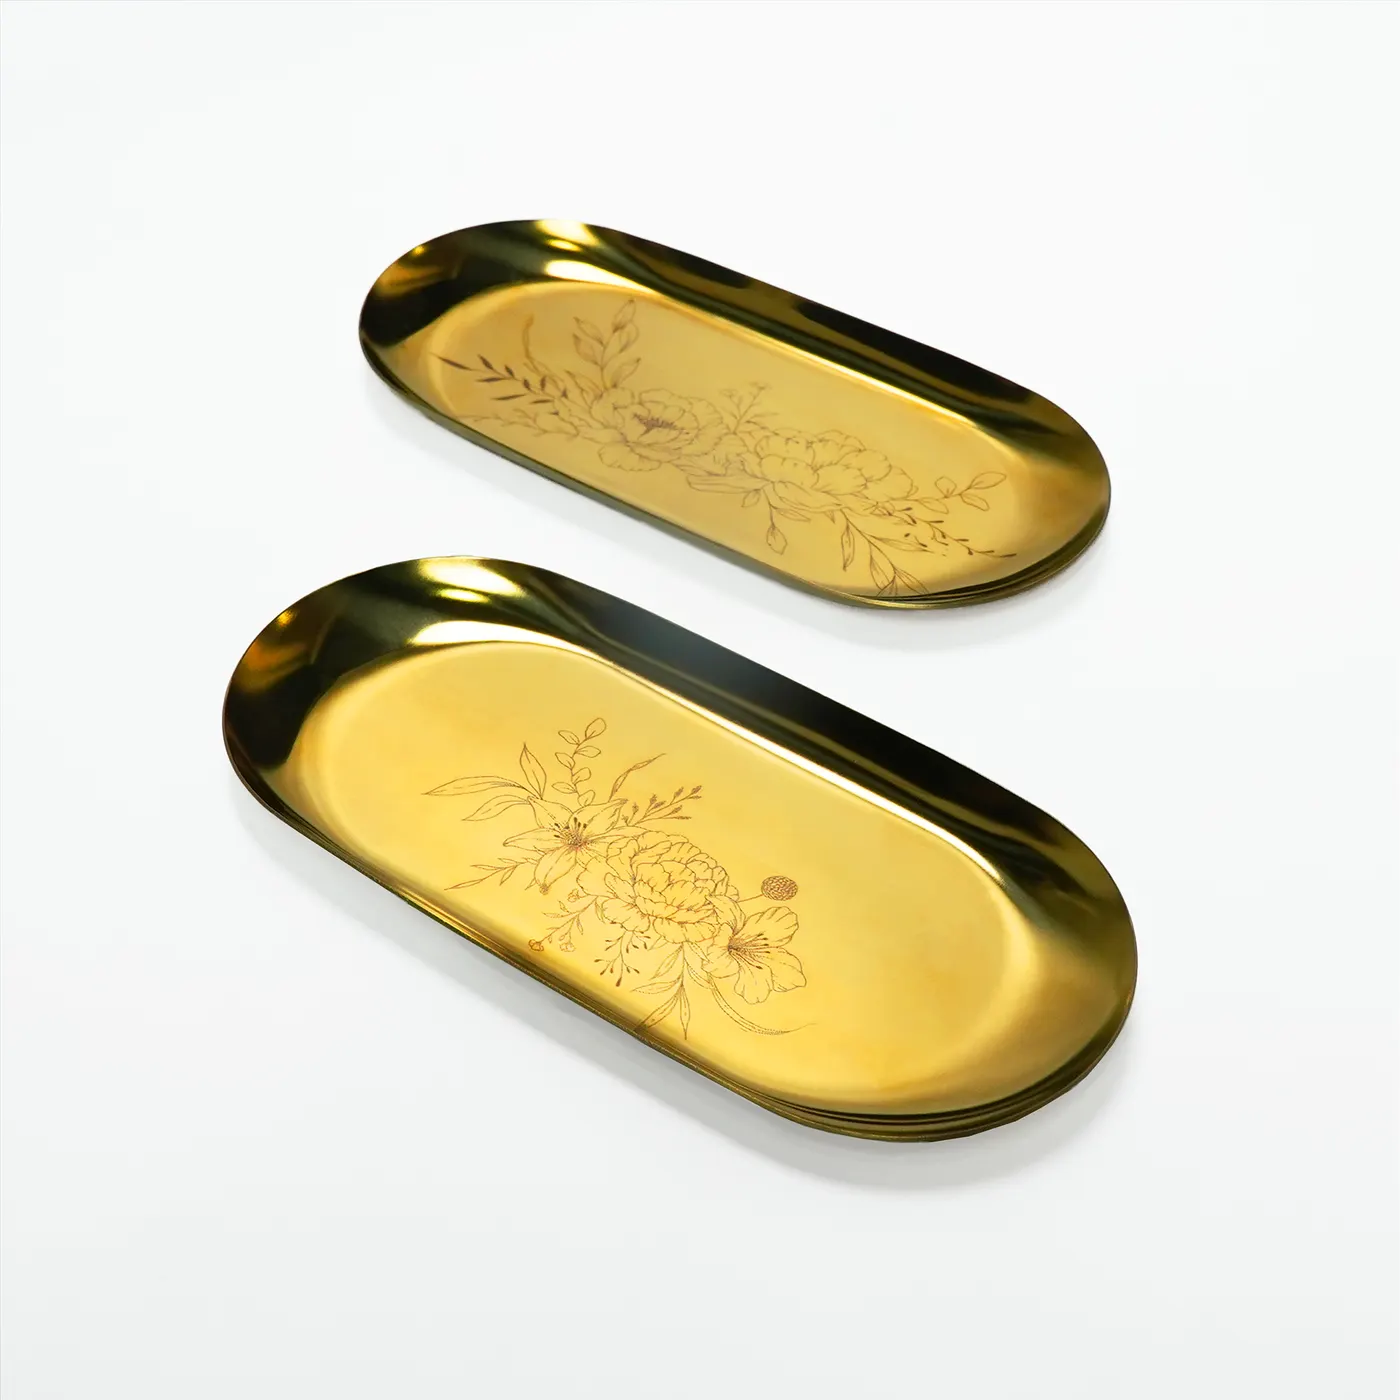
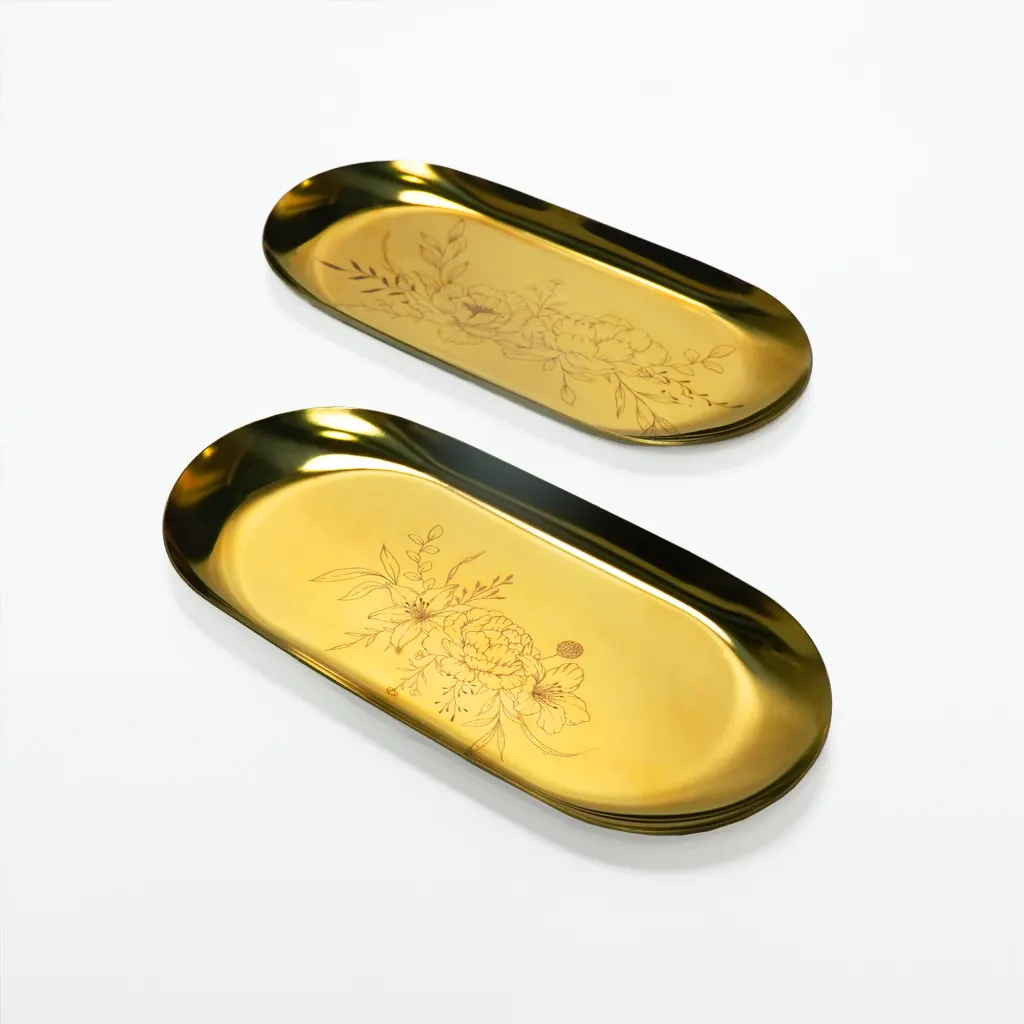
Finished infrared-engraved metal project
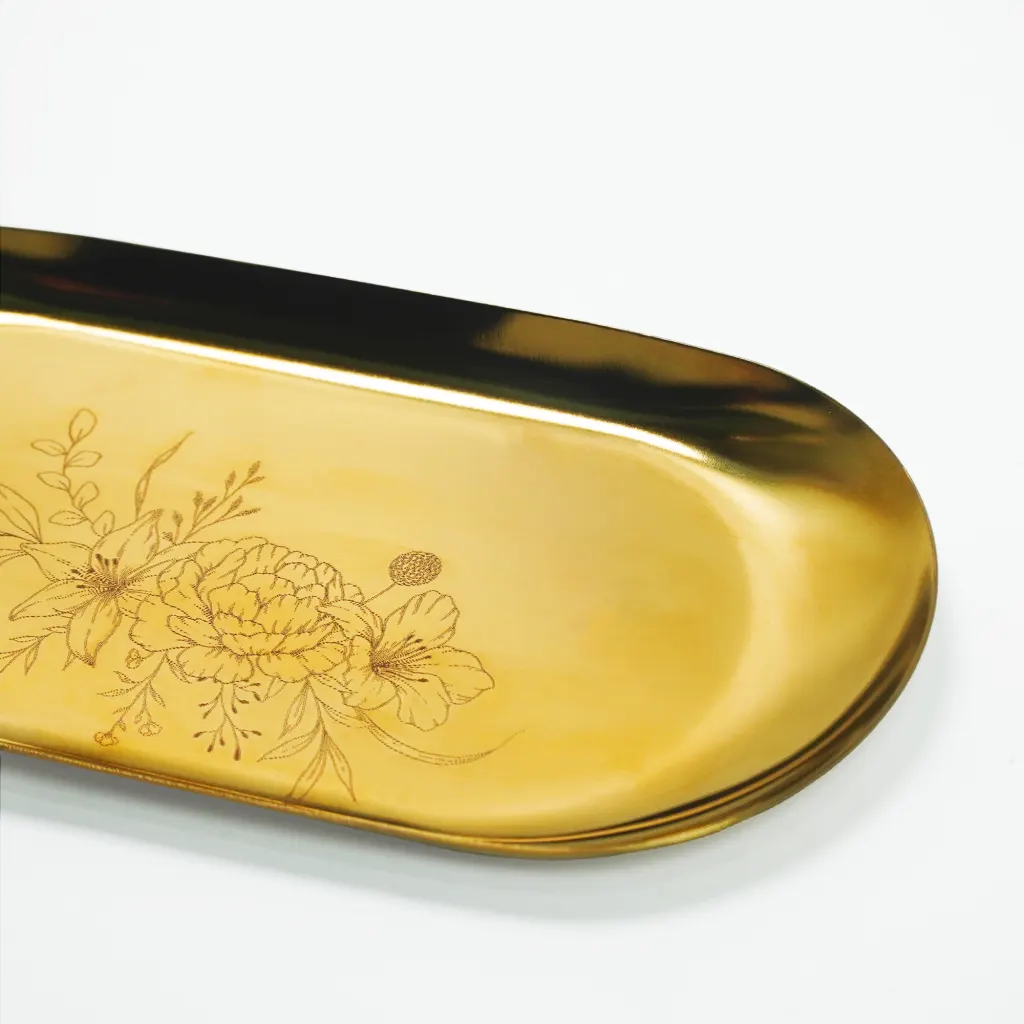
Detailed metal artwork engraved with the Ador infrared module
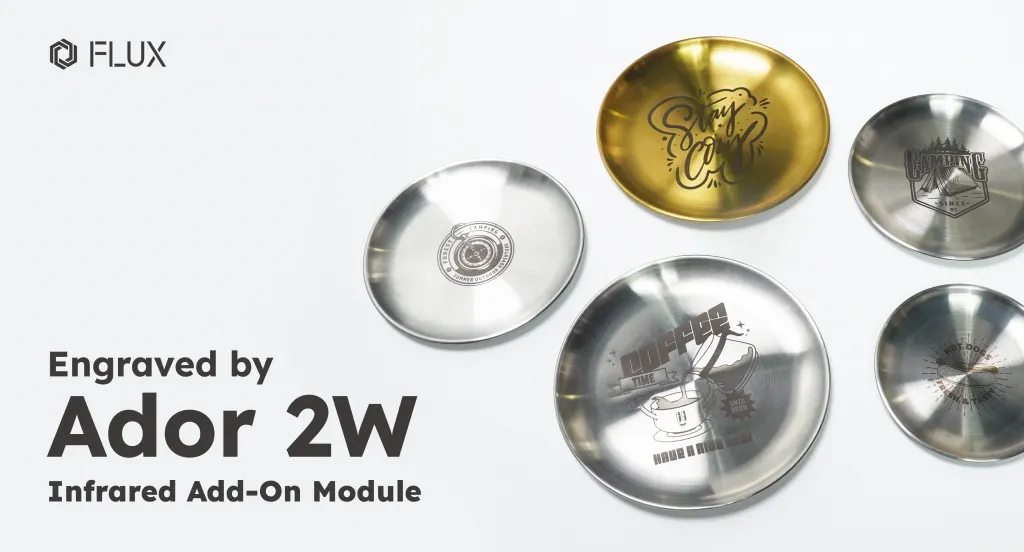
Collection of Ador infrared laser engraving examples
FLUX Ador laser cutter

Pre-Order Now Available at FLUX Europe

FLUX Europe is excited to announce that Ador is now available for purchase. Take advantage of the special launch offer and secure your Ador at the launch price.

Make the next move

Start Your Laser Cut Journey With FLUX

See the machines in person, trade ideas with other makers, or bring FLUX to your market.

Explore the range

Find the right FLUX for your work.

From compact creative studios to higher-volume production, explore the core laser lineup.